

My daughter learned how to make pompoms at her after school club and since then she has been making them every chance she could. We ended up with a whole carrier bag full of pompoms.
I then mentioned to her that we should make a pompom rug with them so I ordered some rug underlay.
However, I received the rug underlay back in August but since then it has stayed in the bag as we did not have a chance to make it.
That is until this week my daughter was off school with a cough and a temperature so we were both stuck indoors all day so we decided that we would finally make the pompom rug.
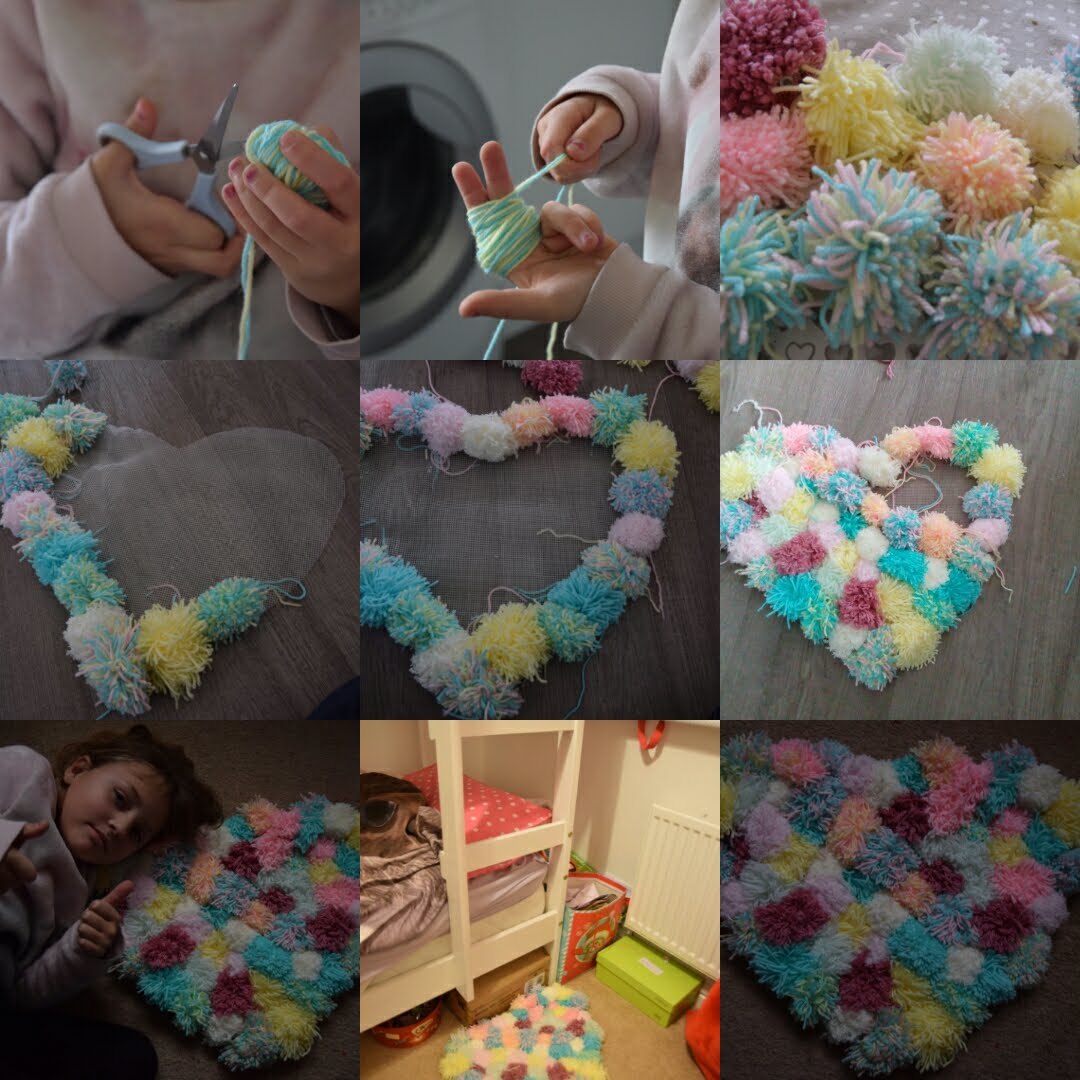
How to make a Pompom Rug
What you will need
Wool (a few different colours will make your rug more colourful)
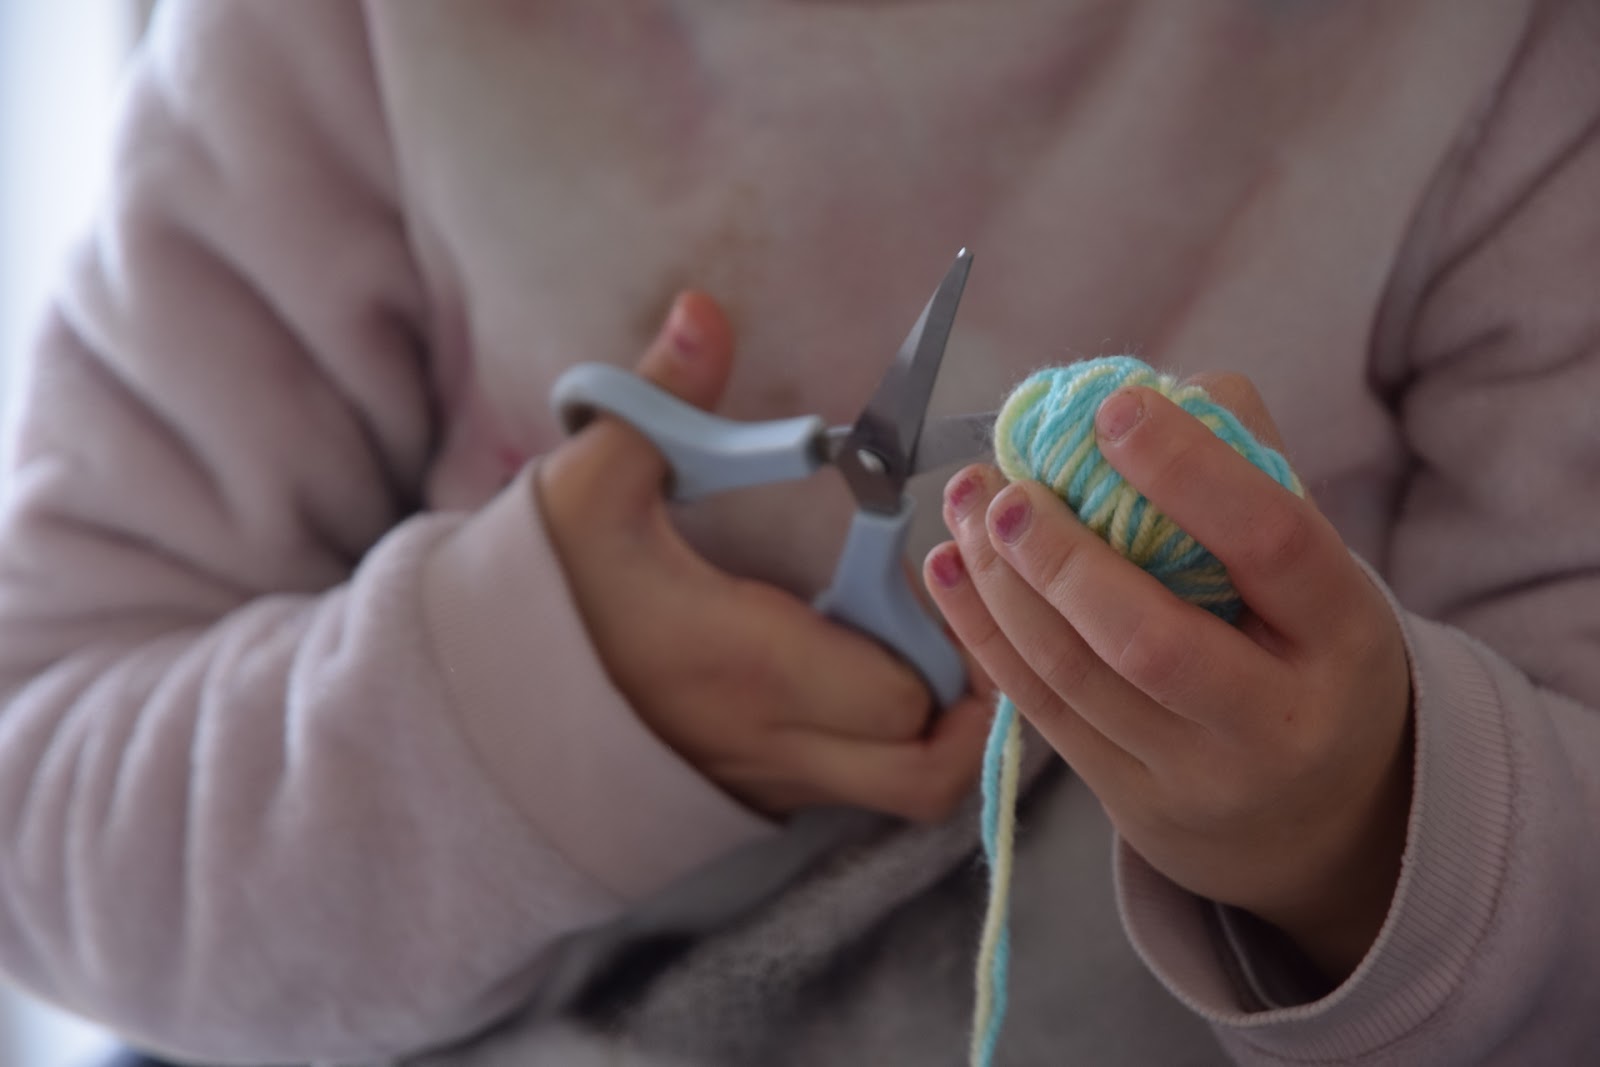
Scissors
A felt tip pen
Method
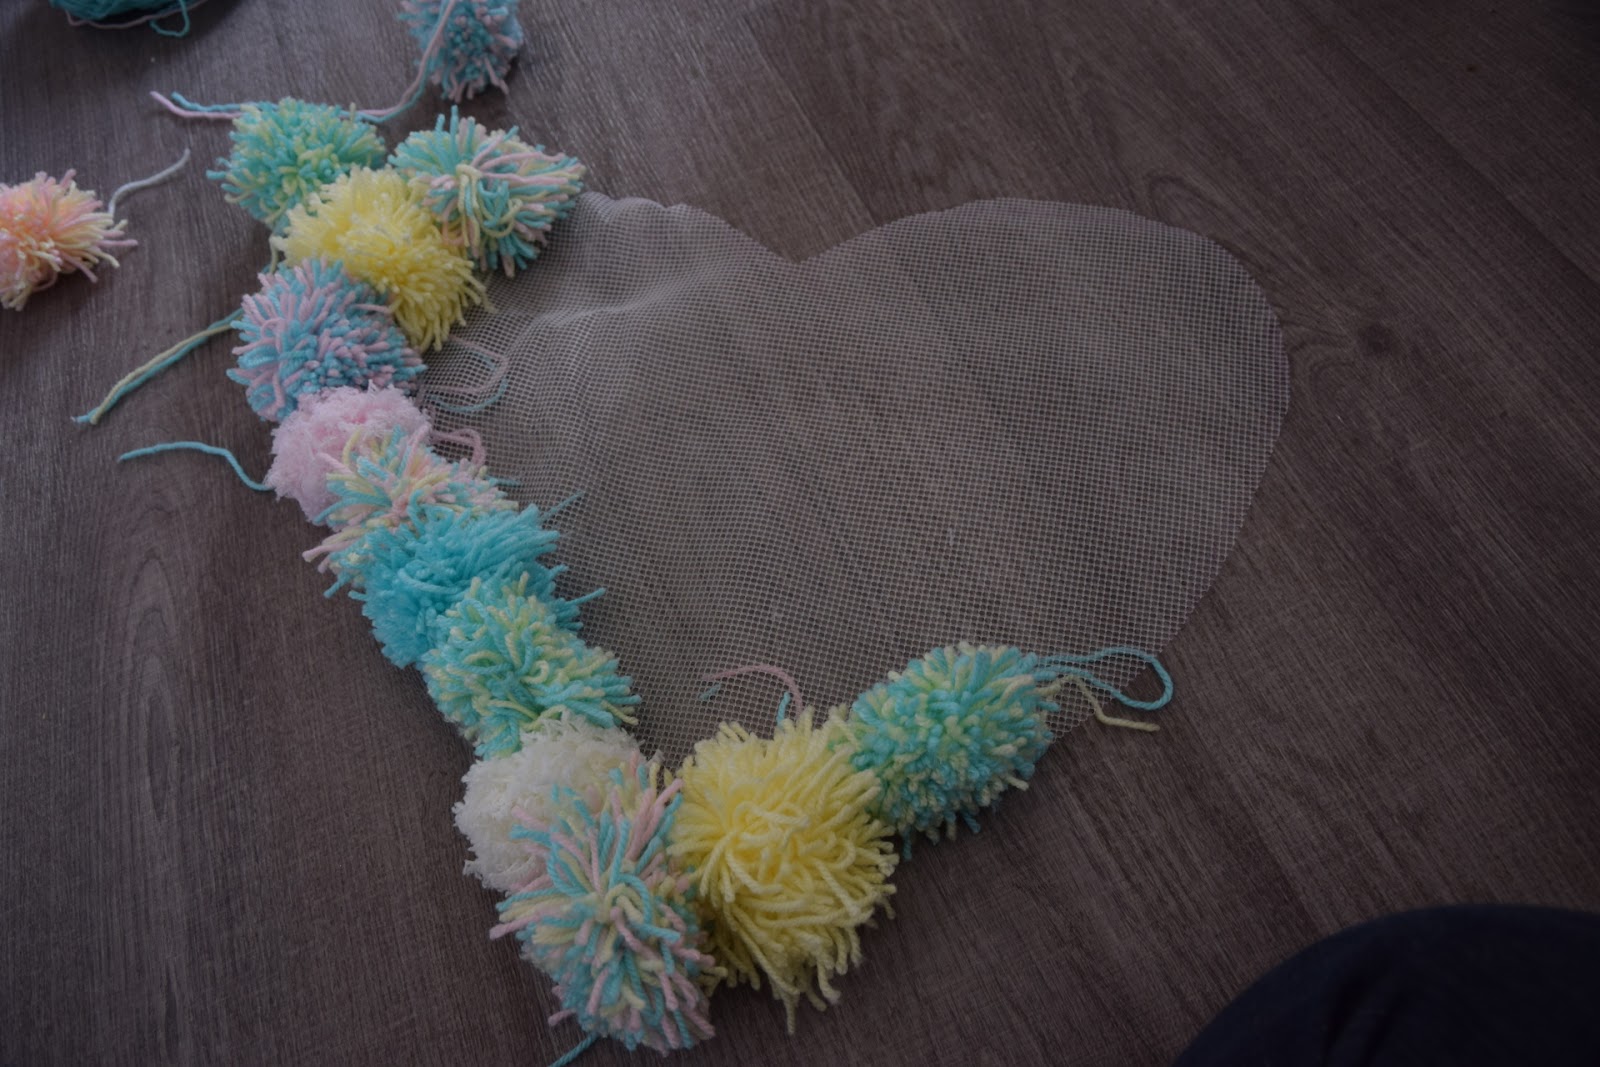
1. To start with, think about your design of your pompom rug and the size that you want. Once you have decided, layout your rug underlay and using a felt tip pen mark out the shape and size that you want your rug to be. Remember that the underlay has holes in which will cause the pen to go through to the floor so you may want to put something underneath it first.
2. Once you are happy with your shape take the scissors and carefully cut out the shape for your pompom rug. We decided to go for a heart-shaped rug.
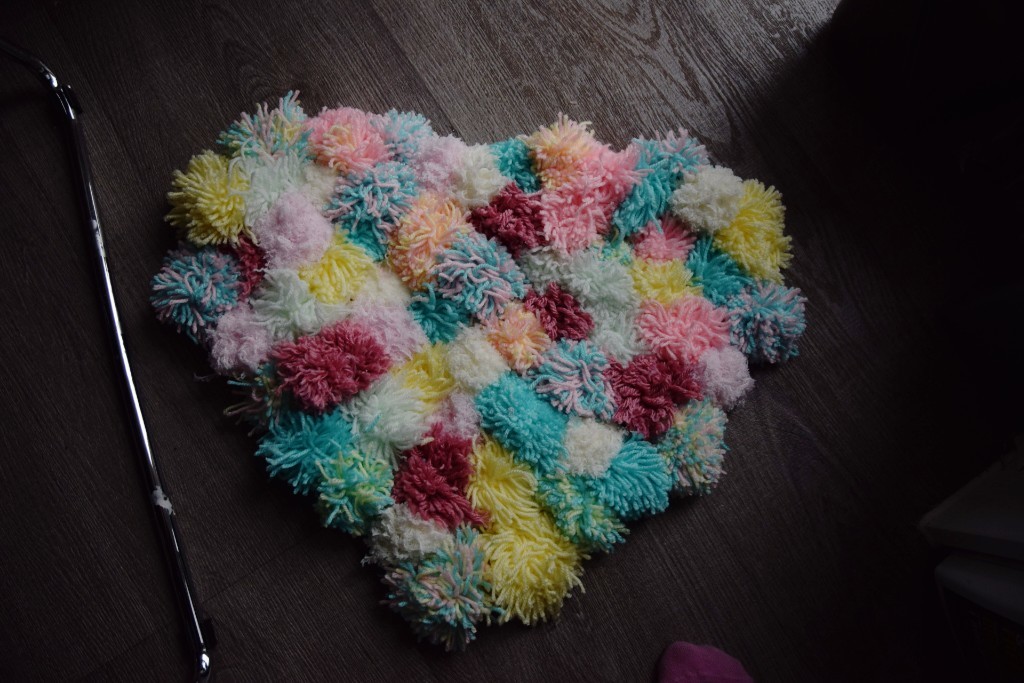
When we made our pompom rug we just put any colour pompom we had on the rug but I would suggest using certain colour wools to create a pattern rather than just adding different colours everywhere.
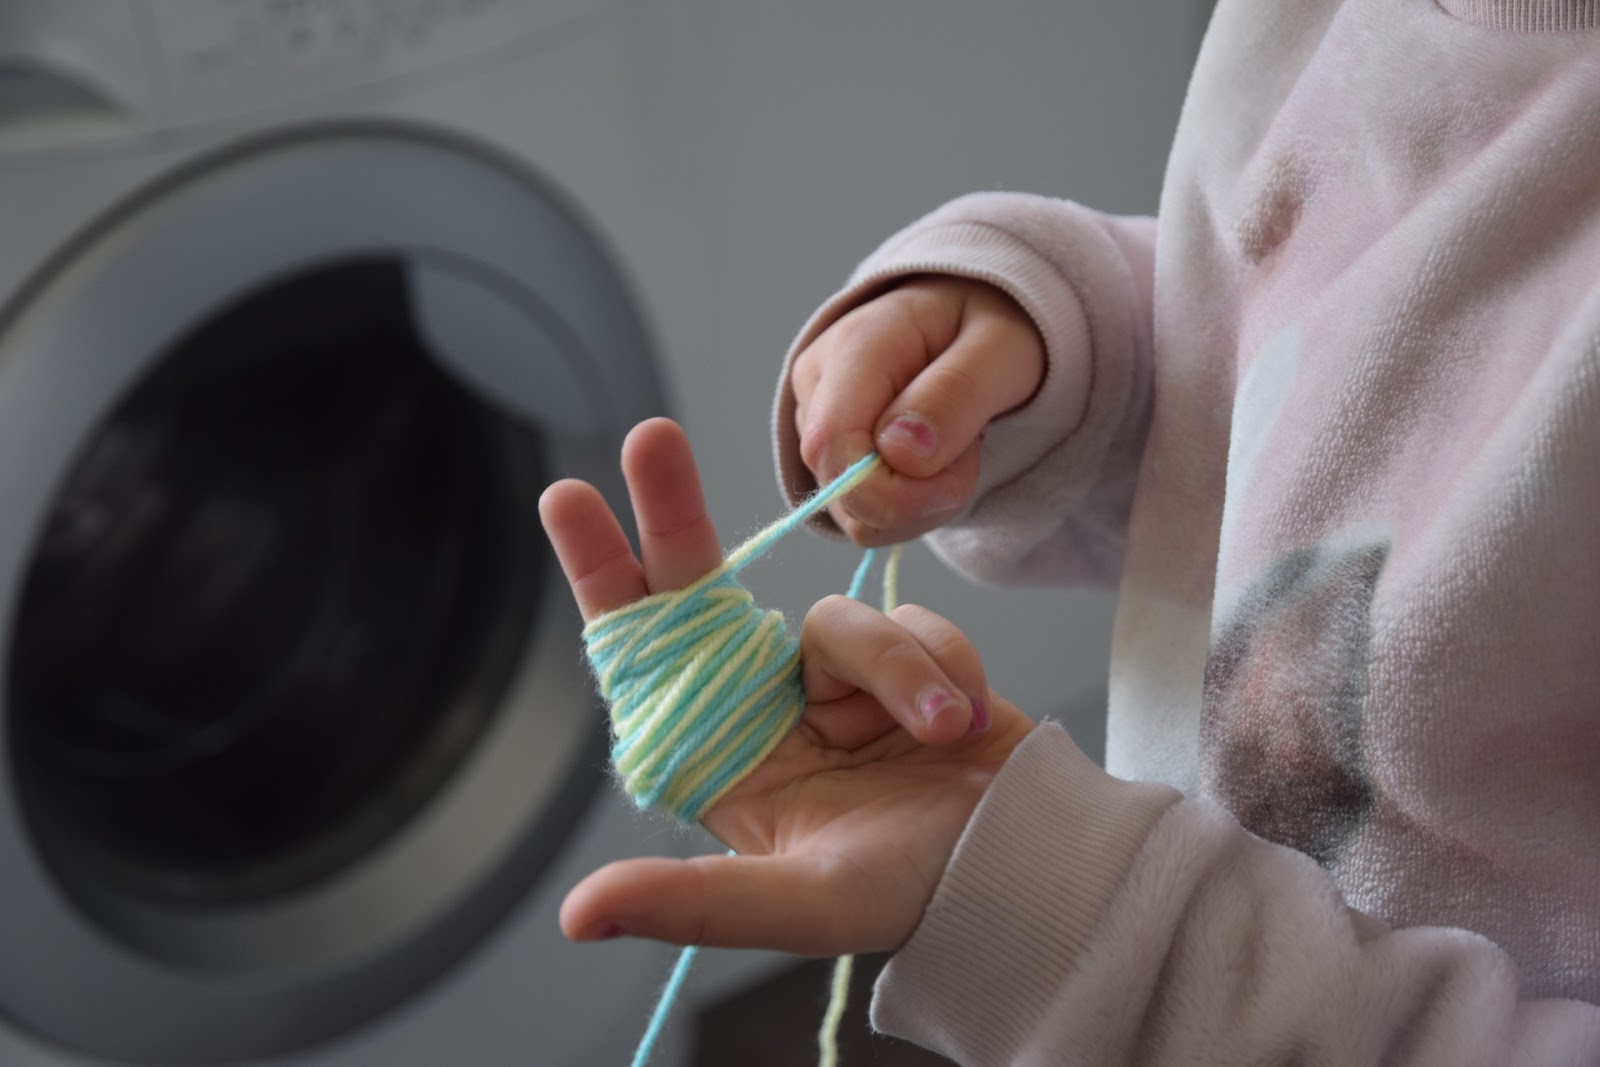
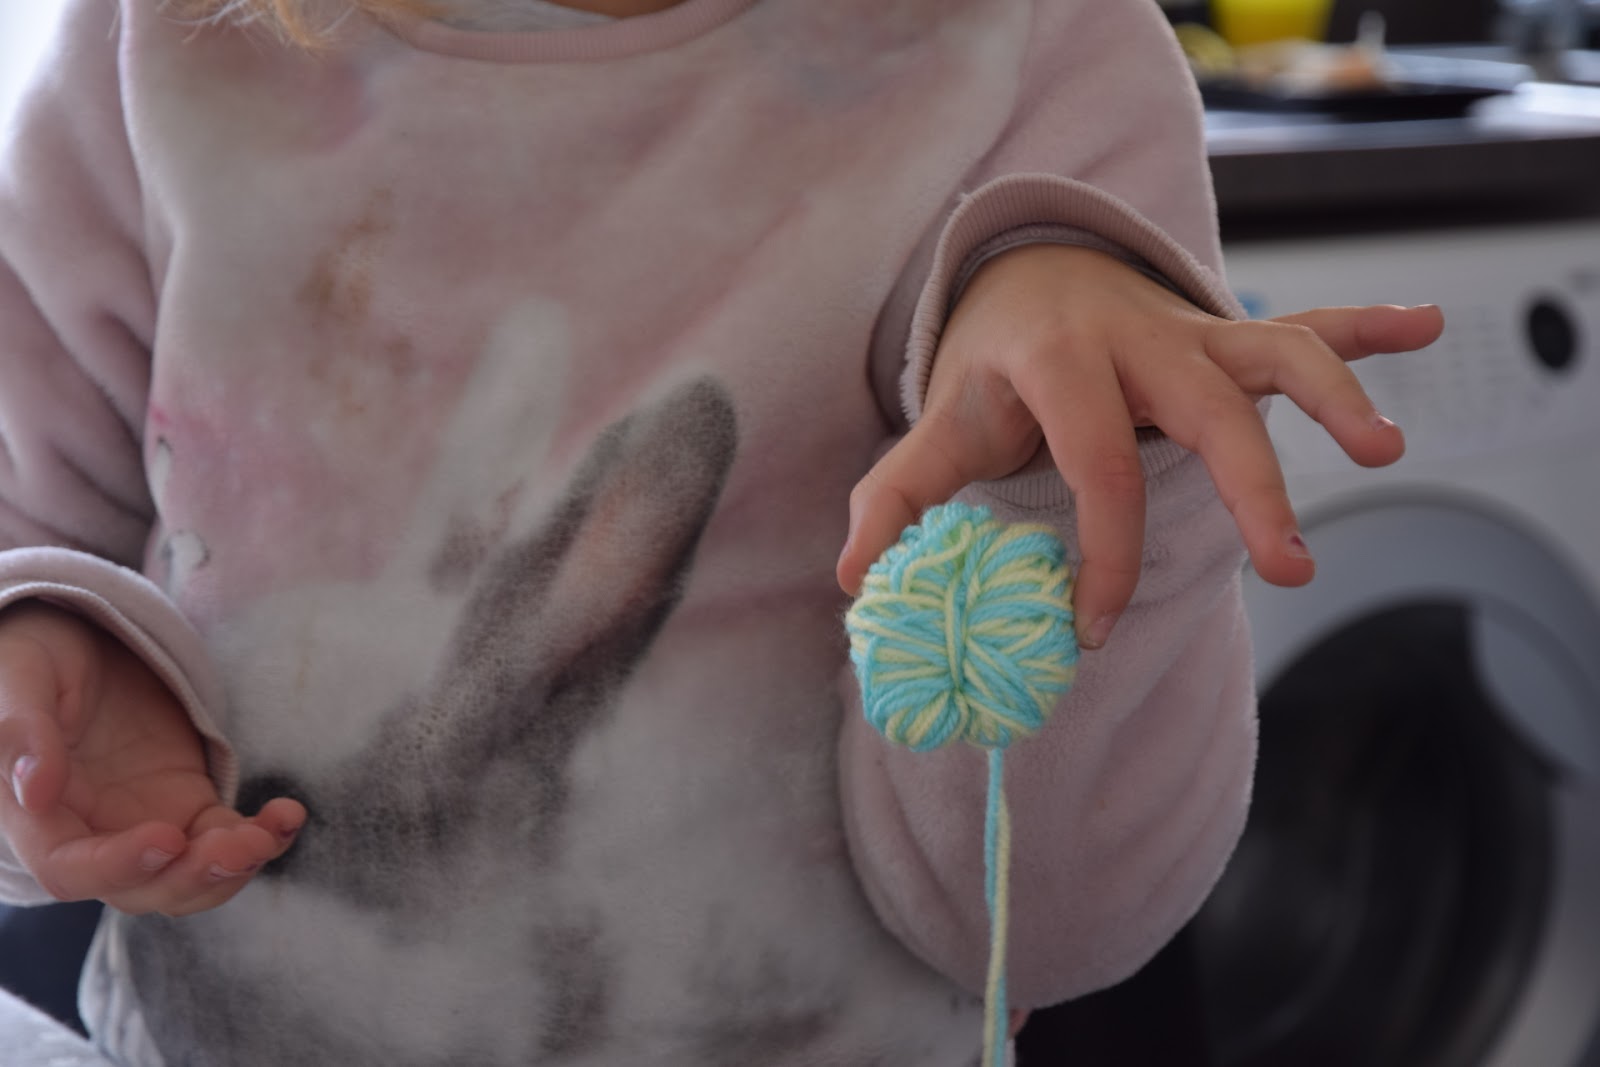
3. Next, you will need to start making your pompoms. You will need a lot of them to fill the rug. We used the method of wrapping the wool around our fingers and then carefully sliding it off and tying the extra wool around the middle to hold it together. However, it is easier especially with younger children to cut two cardboard circles out with smaller circle holes in between and use this to wrap your wool around to make your pompoms.
When tying your string around the middle of the pompom make sure you leave about a 10cm overhang so you can tie them on to the underlay.
4. Next, lay the pompoms out on the underlay before attaching them so you can make sure that you are happy with the design and how it looks.
5. When you are happy with how you want your rug, start attaching the pompoms. Thread each piece of wool through the holes and securely tie together at the back of the rug. As I learnt from experience have a cup of water handy to wet the end of the wool before threading it through. I learnt the hard way by putting the ends in my mouth to moisten and I ended up with wool stuck all over my tongue.
6. Once all your Pompoms are tied on then cut off the overhang bits of wool that you tied them on with being careful not to cut any of the knots holding it together.
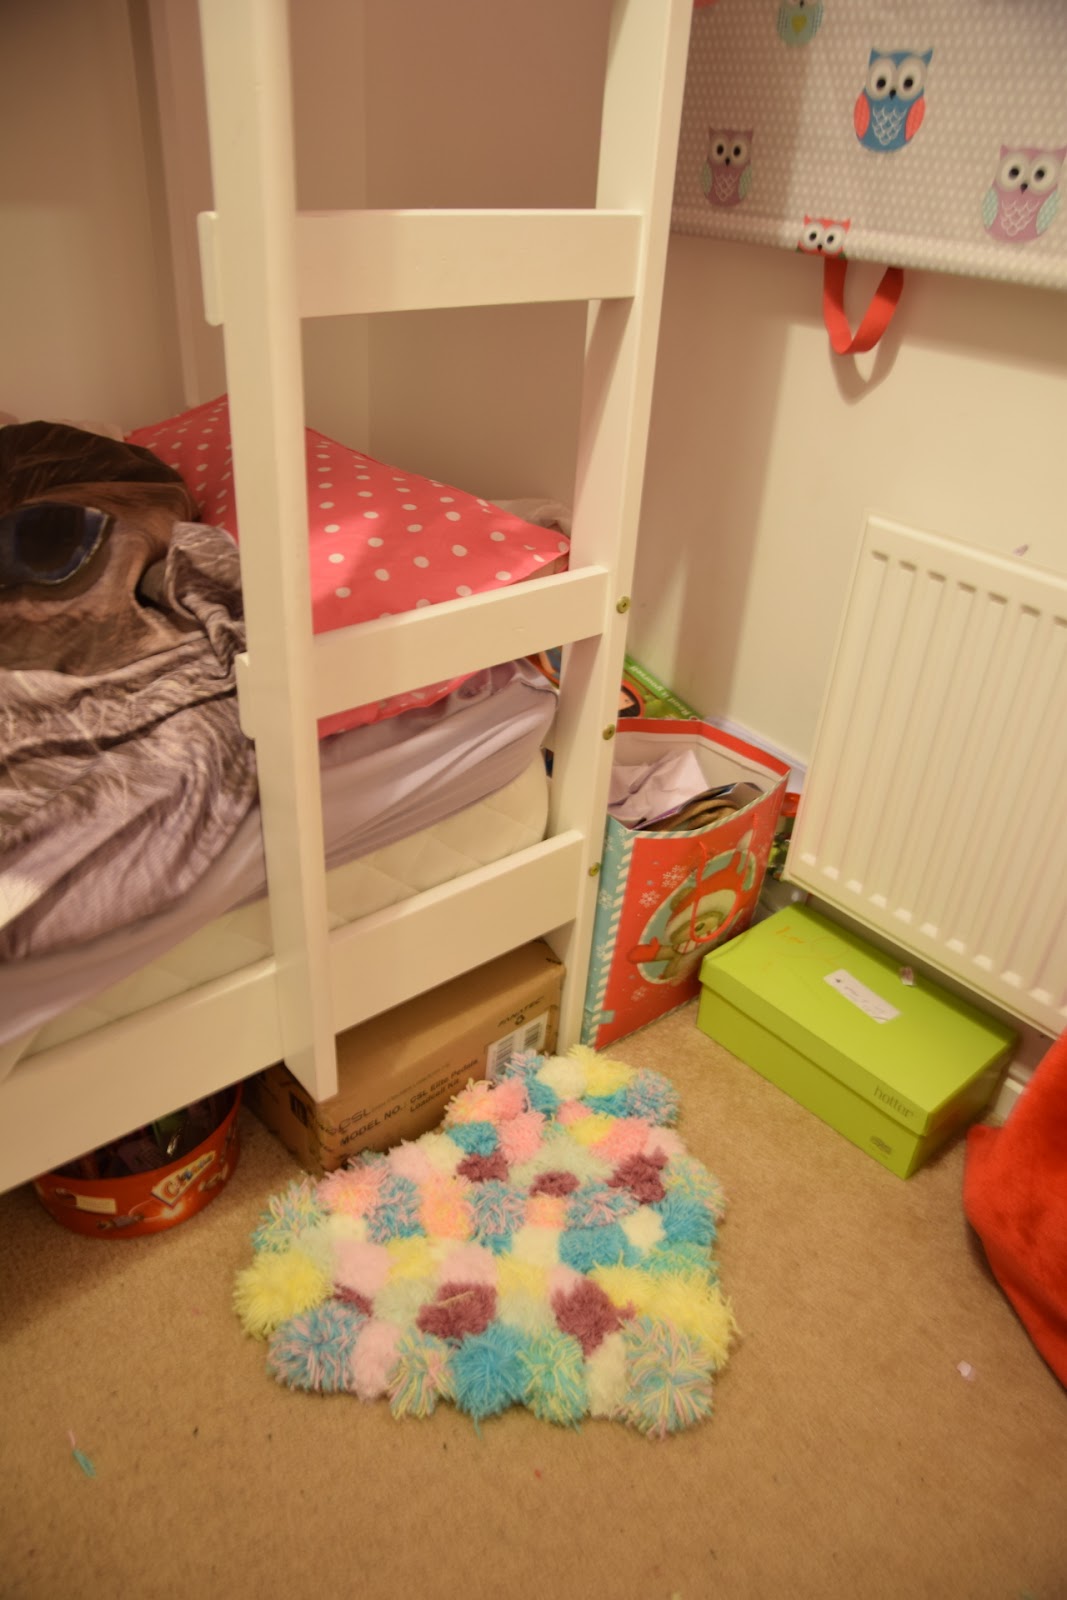
7. You now have a beautiful handmade pompom rug.
Comment below to let us know how it went and if you have any great tips to pass on to others. Happy Making.
Some of my posts contain affiliated links to products where I may receive a small fee if these products are bought.
Join the mailing list for more children’s craft ideas
Subscribe to our newsletter!
Take a look at my other posts –
Window Sticker Activity for Children
Children’s Halloween Craft Ideas
Rainy Day Children’s Crafts and Activities
Children’s Christmas Decoration Craft Ideas
- Hetty the Hedgehog and the Mexican Jungle
 Hetty the Hedgehog and the Mexican Jungle is the second book in the Hetty the Hedgehog series. When her friends are loaded onto the wrong …
 - Hetty the Hedgehog and the Animal Snatchers
 When animal snatchers take her friends, Hetty is the only one left to save them.She may only be small but she is no ordinary hedgehog. …
 - Children’s Short Story – Tim the Blue Whales Journey
 Tim the Blue Whales Journey Tim, the blue whale, set off across the ocean, With his heart filled with love and emotion. He was going …
Children’s Short Story – Tim the Blue Whales Journey Read More »
- Children’s Short Story – Stay Away From the Woods
 Below is a children’s short story I wrote. The inspiration came from an illustration of a little girl sitting with a bear that I saw …
Children’s Short Story – Stay Away From the Woods Read More »
- Children’s Short Story- The Halloween Snowmen and The Evil Snowwomen
 Below is a children’s short story I wrote after I read in the newspaper it might snow at Halloween, which where we live in England …
Children’s Short Story- The Halloween Snowmen and The Evil Snowwomen Read More »
- Children’s Short Story – Fred the Little Monster
 Below is a children’s short story I wrote about a little monster who tries to be scary but things don’t quite work out when he …
Children’s Short Story – Fred the Little Monster Read More »